The Quad Antenna and The ModQuad
Here’s some thoughts on a “hardware-store special” 2-meter quad, and a modified quad for 2 or 10 meters. You can convert these to other frequencies simply by scaleing all dimensions according to wavelength. That is, to put the 10-meter modquad on 15 meters, just multiply all dimensions by 29.0 / 21.25.
A standard 2-meter quad
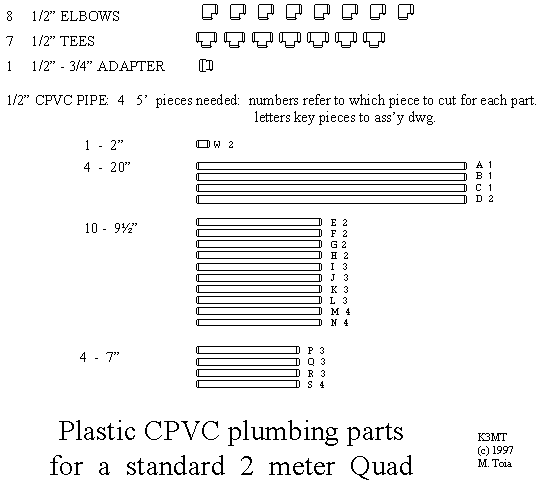
Buy some 1/2″ CPVC plumbing hardware from your local hardware store. Or, e-mail us: we can supply all these pieces, cut to length: ask for prices. Here’s the list of plastic you will need:
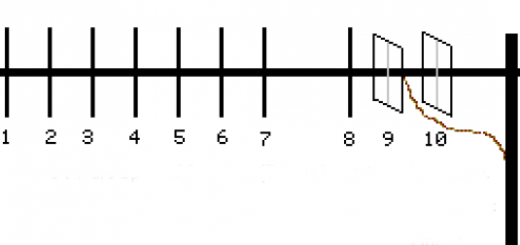
Four 10′ pieces of 1/2″ pipe are needed: cut the parts from pieces 1, 2, 3, and 4 as shown in the diagram. Next, assemble the reflector and driven element loops. Thread a piece of #18 (or so) magnet or hookup wire through each loop frame as you make it up, like this:
Oh, yes – consult the assembly drawing to see which pieces of cut pipe to use in each loop. Note that the two loops are the same size!
The front loop in this drawing is the driven loop: the rear loop is the reflector. Note how excess length of reflector wire is twisted together (fairly tightly) and threaded into the spreader pipe S. The degree of tightness of this twist determines the front to back ratio or the maximum gain: this is how you tune the quad.
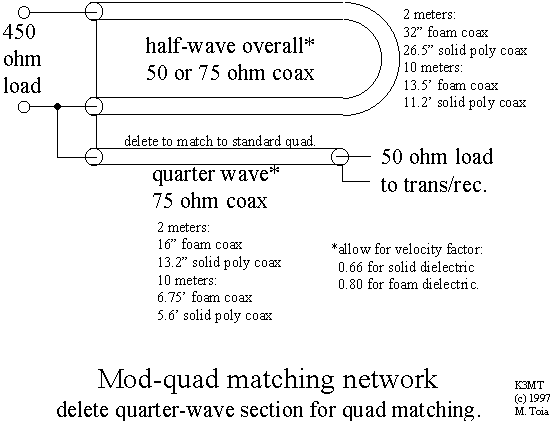
The quad shown has a feed impedance of about 200 ohms. You can match it with any 4:1 balun to take it to 50 ohms. This is a simple cable balun made from coax that does the job:
Note that the quarter-wave 75 ohm section is not used for the standard quad. More on this in just a minute.
The “ModQuad” Antenna
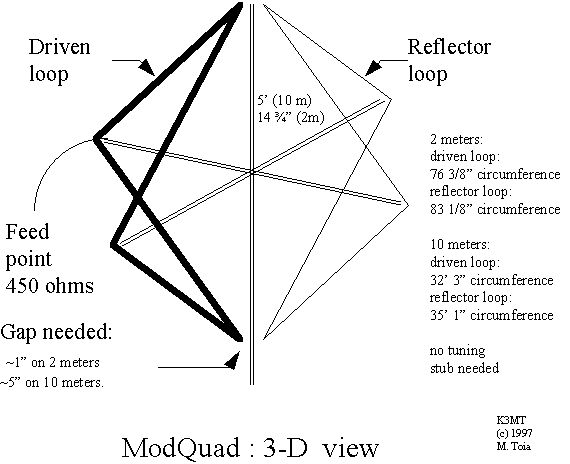
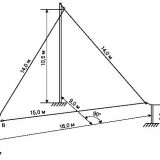
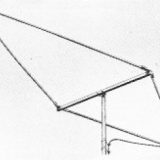
Now for a variation on the quad theme. Did you ever consider bending the loops a bit to make a self-guyed antenna? Look at this diagram – see if you can pick out the “bent” reflector and fed loops.
Notice that this antenna has two horizontal spreader poles, at right angles, and a vertical mast. The loops do not go from one spreader, over the top, and to the other end of the same spreader!! A loop goes from one spreader, to the top, and to an end of the other spreader.
The feed point is at the end of one spreader. No tuning stub is needed: the antenna wire has been lengthened to take up all the stub wire.
SOME NOTES ON THE MOD QUAD
- The ModQuad as shown is vertically polarized.
- Its directivity is from the center of the reflector loop, through the center of the driven loop.
- Adding a girdle line (not shown) around the four ends of the horizontal spreaders will add significanly to mechanical stability.
- The input impedance of the ModQuad is 450 ohms
- The gain of the ModQuad is about a half dB or 1 dB less than a standard quad.
So why would you ever want to use a ModQuad? The answer is simple: when you want to replace a quad that keeps blowing down! Notice that it has only two spreader poles, and is somewhat simpler than a standard quad. You decide -I’m only presenting you with some ideas.
Some final comments
A ModQuad for 10 meters has been used at K3MT since its first construction in January of 1997. It’s April now – the antenna has done yeoman service so far, but it’s too early to tell if it really stays up in a heavy storm. I’ll add a post-mortem, or update, here from time to time. (Oh,yes – even though the SSN is in the doldrums, the Vienna Wireless Society has two active ten meter nets nightly. That’s why the ModQuad is used.)
I’ve been modeling quads using some neat software (NEC-2 and NEC-4). Modeling seems to show that a standard (or modified) quad can be re-tuned and will work well anywhere over a 2:1 frequency range.
73, de K3MT









Last Comments